Ive pretty much decided to use my experience with my spiritual healer today as a means of explaining the benefits and challenges of my DIY straw bale gardening project.
Ok, now that everyone has left, we can get on with this honest conversation. Long story short, she mentioned 2 things that can define an individual; compassion and anger. These feelings explain my experience with strawbale gardening.
Let me be clear here. I am a neophite when it comes to this so please; take what I am saying from a beginner standpoint in strawbale cultivation. I am however not a neophyte in regards to traditional and hydroponic cultivation. I feel as if the majority of gardeners have yet to implement strawbale gardens but have heard the rumble and understand the fact that if this method provided everything that it is stated to; we may have a gardening revolution on our hands.
As I mentioned earlier about the healer. I will break this down into 2 sections:
- Compassion for straw bale gardening
- Anger at straw bale gardening
Compassion for DIY Straw Bale Gardening
The first section is compassion. What I mean by this is,”I see strawbale gardening as a means of producing vegitables in a permaculture environment, while at the same time, providing nutrient rich humus for teas and soil amending next year”
This statement is the reason for choosing this method of growing.
As opposed to soil gardens, the composting process continues throughout the winter, beaking down the bales into a rich mix of microbes, nutrients, mycelium and minerals that were once trapped in the strawbale. Soild gardens do well with a layer of dead leaves left to decompose during the off season.
Creating soil, rather than buying and hauling it made all the sense in the world to me as a new homesteader with a limited budget. Each bale cost about $7. The biodiverse soil created by decomposition of the bales would cost about twice that much (at LEAST) if purchased. Buying compost tea and other nutrients would add to the cost tremendously.
Nutrients came into the picture for me as well when making this decision. True permaculture requires no additional salt based NPK (Nitrogen, Phosphorus, Potassium) addition. Therefor, the fact that the decomposing bales will actually feed the plants just made me wanna go to the CoOp right away and get these bales going. (Which I did)
People often touted the benefits of the bales composition as a means of insect control; stating that the straw would make it difficult for bugs to climb the sides of the bales in search of a free meal. Wow, no bugs either! This is too good to be true! Well, it turns out that the internet is a wonderful place to get STARTED, but as a wise man once said “Experience makes the master”. I’m sure you can probably find a video in which the protagonist is harvesting bars of gold from his strawbale garden, as pixies gently fan him with peacock feathers and serve him organic pomegranate juice. Ok, now that I’m all fired up…
Anger at DIY Straw Bale Gardening
Anger really doesn’t express my true feeling here, but I really wanted to quote my Shamen. Skeptisism would be my ideal term, as I am just now starting the swing of the season with my bales.
I conditioned the bales starting in February using only organic fertilizer and urine. Yup, urine. This is a great time to get into conditioning the bales. There is SO much information on this topic on You Tube is wild. I suggest you watch as many as possible. If you make an amalgam of all of them, and add a few things, you will have success conditioning.
Conditioning of the bales is the process of starting the decomposition process that will eventually feed your plants. Water and nitrogen are added to the bales and soaked every day for 2 weeks. Some use urine in the first few days to kick it all off. There are lots of “recipes” for this, I suggest a google search for the exact increments and measurements .
My conditioning regiment for organic cultivation:
Day 1: Soak the bales completely through and pee on each one. If you have a lot of bales, you need to have a party. Not to be sexist or anything, but invite mostly guys. I had a hard time getting even the most passionate permaculture females to pee on the bales. ( I am by no means saying that other women wont, this is simply my experience with my friends) Make sure to have a lager beer around, they create the most pee. Serve pretzels to keep everyone thirsty and run the hose after a few beers to get them “motivated”. Assign each person their own bale for consistency in application rates. Everyone seems to pee on the closest bale.
Day 2: Spread 2 cups of Blood Meal on each bale, water in. Cover with tarps to trap moisture.
Day 3: Spread 2 cups of Blone Meal on each bale, water in. Cover with tarps to trap moisture.
Day 4: Spread 2 cups of Blood Meal on each bale, water in. Cover with tarps to trap moisture.
Day 5: Spread 2 cups of Blood Meal on each bale, water in. Cover with tarps to trap moisture.
Day 6: I started to just use water and cover for a few more days and checked temps.
Day 7: Use a meat thermometer to check the internal temperature of the bales. It can go as high as 120 degrees and if you’re not careful, can actually catch on fire! Yup, anyone out there on the interwebs talking about this fact? The process of decomposition produces a lot of heat, you may even see the bales steaming at night. Make SURE that they stay wet enough to extinguish tinder before they spread. We’ve all heard of hay barn fires from stacking the bales too closely without airflow. They begin to break down and combust. A great way to avoid this is to cover them and use a soaker hose.
Once the bales have calmed down, and the temps drop to 20 degrees above ambient, you’re all set for the next step in this process.
I amended my bales with Cascade Minerals and Bokashi. The minerals are for plant flavor and health. I have to assume that there are minerals trapped in the straw, but in what concentrations? There is no way to really know. I added about 2 cups to each bales and watered it in. at this time, I also inoculated with dry Bokashi.
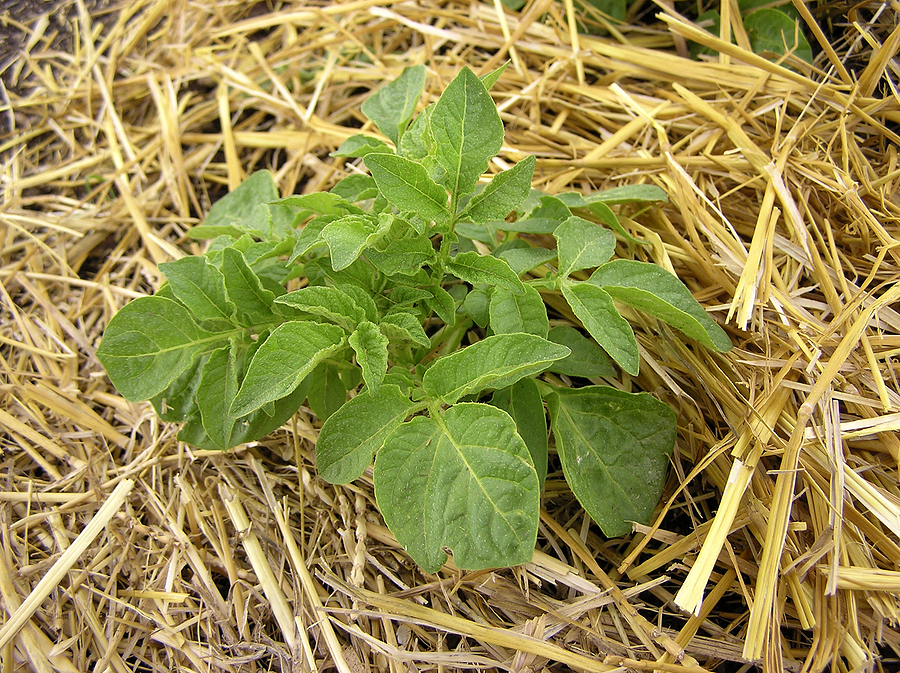
At this point you are ready to plant. I use a knife and carve a hole in the wet bale. If you condition correctly, you will have an easy time planting. The use of peat pots or manure cups makes this process a breeze. I like to add some soil in the hole before I plant to acclimate the plant.
I had pretty good results with my DIY straw bale gardening projects this spring. Having said that I have found a much more effective method of gardening that is infinitely easier. This method is just as scalable and inexpensive compared to building raised beds; but without some of the challenges you may experience with the bales.
Until next time folks. #organarchist
Feature image: Berries Growing in Straw, BonniePlants.com, September 19, 2013